

As a supplier of living container houses, I often receive inquiries from customers about various aspects of equipping these mobile homes, and one common question is how to install a water heater in a living container house. In this blog, I'll share a comprehensive guide on this process, ensuring that you can enjoy a warm and comfortable living experience in your Economic Living Container House.
Pre - installation Preparation
Choose the Right Water Heater
The first step is to select a suitable water heater for your living container house. There are mainly two types: tank - type water heaters and tankless water heaters.
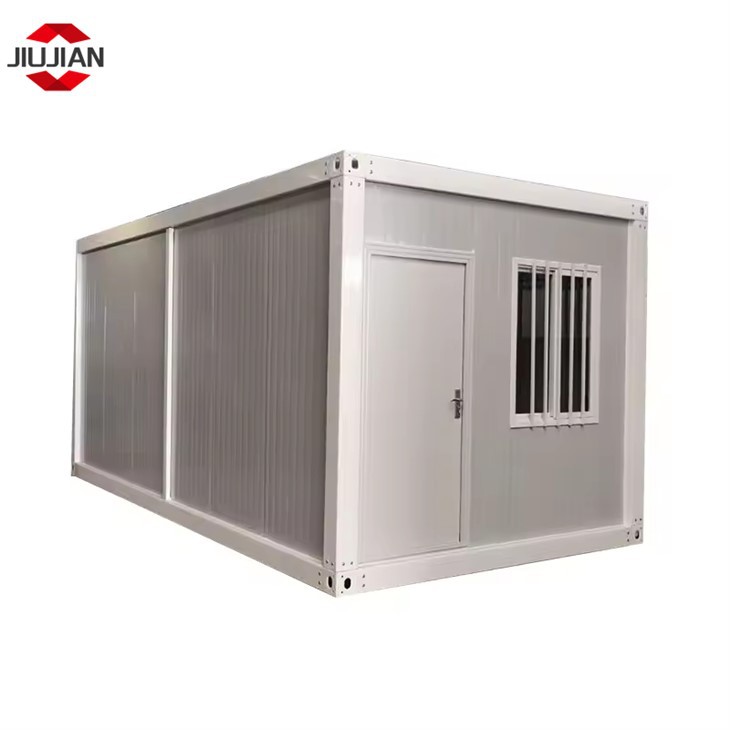

Tank - type water heaters store hot water in a tank. They are a good choice if you have a relatively large family or need a continuous supply of hot water. However, they take up more space and may consume more energy when the water in the tank cools down.
Tankless water heaters heat water on demand. They are more energy - efficient and compact, which is ideal for the limited space in a living container house. But they may have a lower flow rate, so if you need to use multiple hot - water outlets simultaneously, you may need to choose a more powerful model.
Check the Electrical and Plumbing Systems
Before installation, it's crucial to check the electrical and plumbing systems in your Living Container House. Make sure the electrical circuit can handle the power requirements of the water heater. If necessary, consult an electrician to upgrade the circuit.
For the plumbing system, ensure that the water pipes are in good condition and have the appropriate diameter to supply water to the water heater. You may need to install shut - off valves near the water heater for easy maintenance.
Select the Installation Location
The installation location of the water heater is also important. It should be a well - ventilated area, especially for gas - powered water heaters, to prevent the accumulation of harmful gases. In a living container house, you can choose a corner or a dedicated utility room. The location should also be close to the water supply and drainage pipes to minimize the length of the pipes and reduce heat loss.
Installation Steps
Step 1: Prepare the Installation Site
Clean the installation site and make sure it is level. If the water heater is heavy, you may need to install a sturdy platform or bracket to support it. Mark the position of the water heater on the wall or floor according to the manufacturer's instructions.
Step 2: Connect the Water Pipes
Connect the cold - water inlet pipe to the water supply. You can use flexible or rigid pipes, depending on your preference and the layout of the plumbing system. Wrap the pipe threads with Teflon tape to prevent leaks.
Next, connect the hot - water outlet pipe to the hot - water distribution system in your living container house. This may involve connecting to faucets, showers, and other hot - water appliances.
Step 3: Connect the Electrical or Gas Supply
If you have an electric water heater, connect the power cord to a dedicated electrical outlet or hard - wire it according to the electrical code. Make sure all electrical connections are secure and insulated to prevent electrical hazards.
For gas - powered water heaters, connect the gas supply pipe to the water heater. Use a gas - rated pipe and ensure that all connections are tightened properly. It's recommended to have a professional gas fitter perform this step to ensure safety.
Step 4: Install the Exhaust System (for Gas - Powered Water Heaters)
If you are installing a gas - powered water heater, you need to install an exhaust system to vent the combustion gases outside. Follow the manufacturer's instructions to install the exhaust pipe, which should be properly sealed and directed to the outside of the living container house.
Step 5: Fill the Water Heater
Before turning on the water heater, open the cold - water inlet valve and let the water fill the tank. Open the hot - water faucets in your living container house to release any air trapped in the pipes. Once water starts flowing steadily from the hot - water faucets, close them.
Step 6: Test the Water Heater
After filling the water heater, turn on the power or gas supply. Check for any leaks around the water pipes, electrical connections, or gas connections. Monitor the water temperature and make sure the water heater is working properly.
Post - installation Maintenance
Regular Inspections
Perform regular inspections of the water heater to check for any signs of damage, leaks, or corrosion. Inspect the water pipes, electrical connections, and gas supply (if applicable) at least once a year.
Flush the Tank (for Tank - Type Water Heaters)
If you have a tank - type water heater, it's recommended to flush the tank every six months to a year. This helps remove sediment and minerals that can accumulate in the tank, which can reduce the efficiency of the water heater and shorten its lifespan.
Replace the Anode Rod (for Tank - Type Water Heaters)
The anode rod in a tank - type water heater helps prevent corrosion of the tank. Check the anode rod regularly and replace it when it is more than half - consumed.
Conclusion
Installing a water heater in a living container house is a feasible project if you follow the proper steps and safety precautions. By choosing the right water heater, preparing the installation site, and performing regular maintenance, you can ensure a reliable supply of hot water in your Living Container Houses.
If you are interested in our living container houses or have any questions about water heater installation or other aspects of container house equipment, please feel free to contact us for more information and procurement negotiations. We are committed to providing you with high - quality products and professional services.
References
- Manufacturer's installation manuals for water heaters.
- Local building codes and regulations regarding water heater installation.
- Plumbing and electrical handbooks for general knowledge on system installation and maintenance.