

As a supplier of living container houses, I often receive inquiries from customers about various aspects of these unique living spaces. One common question is how to install a ventilation fan in a living container house. In this blog post, I'll share a step-by-step guide on this process, which is crucial for maintaining a healthy and comfortable living environment.
Why Ventilation is Important in Living Container Houses
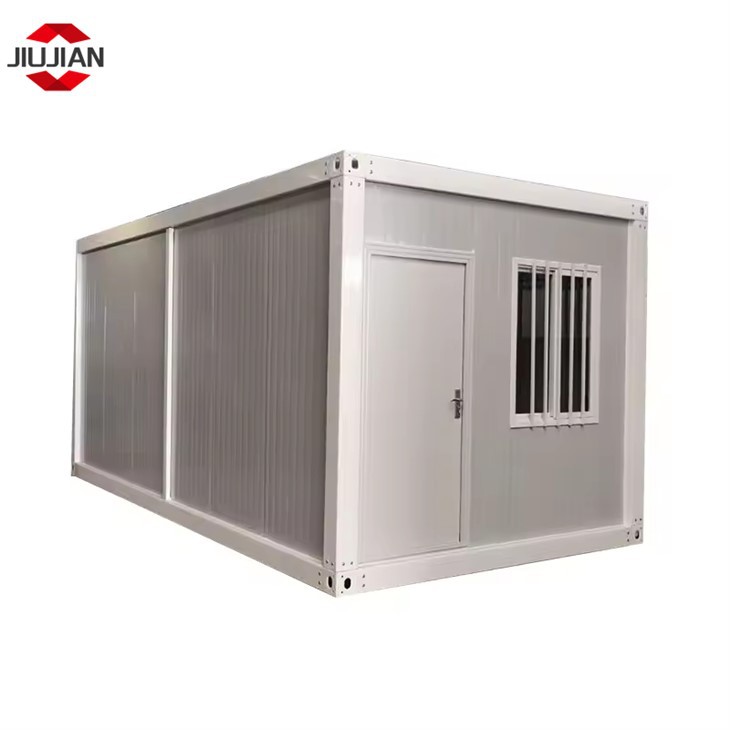
Before diving into the installation process, let's understand why ventilation is so important in living container houses. Container houses are typically made of metal, which can lead to poor air circulation if not properly ventilated. Without adequate ventilation, moisture can build up inside the container, leading to mold and mildew growth. These can cause health problems such as respiratory issues and allergies. Additionally, proper ventilation helps to remove odors, smoke, and other pollutants from the air, creating a more pleasant living environment. Living Container Houses are designed to be energy - efficient, but ventilation is a key component that should not be overlooked.
Tools and Materials You Will Need
- Ventilation Fan: Choose a fan that is suitable for the size of your container house. Consider factors such as the fan's airflow capacity (measured in cubic feet per minute or CFM) and noise level.
- Screwdriver set: For removing and installing screws.
- Drill and drill bits: To make holes for mounting the fan and for wiring.
- Measuring tape: To ensure accurate placement of the fan.
- Caulk gun and caulk: To seal any gaps around the fan to prevent air leaks.
- Electrical wires and connectors: To connect the fan to the power source.
- Wire strippers: To strip the insulation from the electrical wires.
- Safety goggles and gloves: To protect yourself during the installation process.
Step - by - Step Installation Guide
Step 1: Choose the Right Location
The first step is to choose the right location for your ventilation fan. The ideal location is usually on an exterior wall of the container house, preferably near the ceiling. This allows the fan to expel hot, stale air upwards and out of the container. Make sure the location is away from any obstructions such as furniture or storage items. Use a measuring tape to mark the center of the area where you plan to install the fan.
Step 2: Prepare the Wall
Once you have chosen the location, you need to prepare the wall for the installation. Use a drill to make pilot holes at the marked points. The size of the drill bit should match the size of the screws that will be used to mount the fan. If the container house has an interior lining, you may need to remove a section of it to access the exterior wall. Be careful not to damage any electrical wires or plumbing that may be hidden behind the lining.

Step 3: Install the Fan Mounting Bracket
Attach the fan mounting bracket to the wall using the screws and the pilot holes you made earlier. Make sure the bracket is level and securely attached to the wall. You can use a level to check the alignment of the bracket.
Step 4: Install the Ventilation Fan
Carefully place the ventilation fan onto the mounting bracket. Align the holes on the fan with the holes on the bracket and insert the screws. Tighten the screws securely to ensure that the fan is firmly attached to the bracket.
Step 5: Connect the Electrical Wiring
This is a critical step, and if you are not familiar with electrical work, it is recommended that you hire a professional electrician. First, turn off the power supply to the area where you will be working to avoid the risk of electric shock. Then, use wire strippers to strip the insulation from the ends of the electrical wires. Connect the wires from the fan to the power source according to the manufacturer's instructions. Use electrical connectors to ensure a secure connection. Once the wiring is connected, carefully tuck the wires into the wall to prevent them from being damaged.
Step 6: Seal the Gaps
Use a caulk gun to apply caulk around the edges of the fan to seal any gaps. This helps to prevent air leaks and improves the efficiency of the ventilation system. Make sure to smooth out the caulk for a neat finish.
Step 7: Test the Fan
After completing the installation, turn the power supply back on and test the fan. Check if the fan is running smoothly and if the airflow is as expected. Listen for any unusual noises or vibrations, which may indicate a problem with the installation.
Tips for Maintenance
- Regularly clean the fan blades to remove dust and debris, which can reduce the fan's efficiency.
- Check the electrical connections periodically to ensure they are secure.
- Inspect the caulk seal around the fan and re - apply caulk if there are any signs of cracking or deterioration.
Conclusion
Installing a ventilation fan in a living container house is a relatively straightforward process if you follow the steps outlined above. Proper ventilation is essential for maintaining a healthy and comfortable living environment in Living Container House. At our company, we are committed to providing high - quality Economic Living Container House solutions. If you are interested in purchasing a living container house or have any questions about the installation process, please feel free to contact us for further discussion and procurement negotiation.
References
- "Container Home Design and Construction" by [Author's Name], [Publication Name], [Year]
- Manufacturer's installation guide for the ventilation fan used in the installation process.